If you have hard water running through your home, a water softener can prevent scale buildup, water spotting, and costly repairs to your appliances.
One of the first questions that comes up is how to install a water softener. Hiring a professional will cost a few hundred dollars. And it can be intimidating to contemplate installing one on your own, but it is possible! In this guide, we will walk you through step-by-step how to install a water softener to save you the added expense.
Quick Installation Steps
- Turn off main water supply Jump To Step
- Make appropriate connections Jump To Step
- Brine tank setup Jump To Step
- Drainage system setup Jump To Step
- Turn water supply on Jump To Step
- System startup and programming Jump To Step
- Run regeneration cycle Jump To Step
Preliminary Steps
In this demonstration, we are showing how to install a salt-based water softener, which is the most popular system. Traditional salt-based softener consists of a tall tank that holds the media resin, and a brine tank that holds the sodium pellets.
The specific unit we installed is the SpringWell SS water softener. Although there are subtle differences between various water softeners, in general, this guide will sufficiently walk through the installation of any ion exchange water softener. If you have a salt-free water conditioner, you can simply disregard the portion for the brine tank hookup.
Where To Install A Water Softener
There are several locations that are suitable for installing water softeners. Here are the things to know when selecting the best location in your home.
Point Of Entry
When installing a whole house water filter, you need to place it close to your main water entry line. It is best to install the system at the earliest point in your home’s plumbing. This means your water softener comes before your water heater and other appliances. This will protect your water softener and prevent damage to your water heater. When selecting the final location, ensure it is on a sturdy flat surface. In most cases, you will also need access to an electrical plugin.
Outdoor Installation
Water softeners can be installed outside if suitable for your home’s plumbing setup. Note that not all water softeners are compatible with outside installation. Make sure to check the specifications of the system before deciding between an inside or outside location.
The temperature must not drop below freezing or it will damage the softener. Ideally, the temperature should range between 35 – 90 degrees Fahrenheit, and be out of direct sunlight.

Some manufacturers require a professional installation so you don’t void the warranty. Read the owner’s manual to ensure your specific system is installed correctly.
What You Will Need
This list of materials will depend on what is included with your water softener unit. Some come with a comprehensive installation kit and some do not. Double-check the owner’s manual to make sure you have everything required.
- Screwdriver
- Adjustable Wrench
- Pipe Cutter
- Tape Measure
- Pluming Pipe Fittings & Adapters
- Flexible Supply Connectors
Installation Instructions: Step By Step
Turn Off Main Water Supply
Ensure the main water supply line is shut off. Next, drain the water line so there is no standing water in your plumbing. Do this by turning on your faucets and outdoor hoses until the water flow stops. Also, turn off the power to your water heater to prevent any damage.
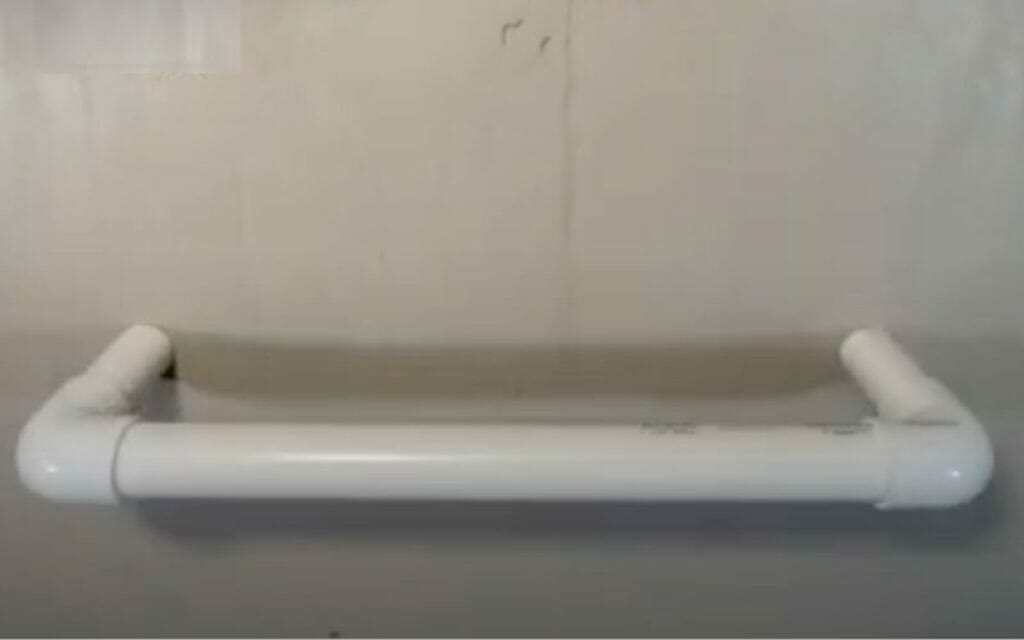

Make Appropriate Connections
If desired, you can connect a bypass valve to the water softener’s valve head. Tighten the screws on the stainless steel clamps to secure the bypass valve. Note that not every softener has a bypass valve. These are so you can repair or service the water softener without causing disruption to your home’s water supply.
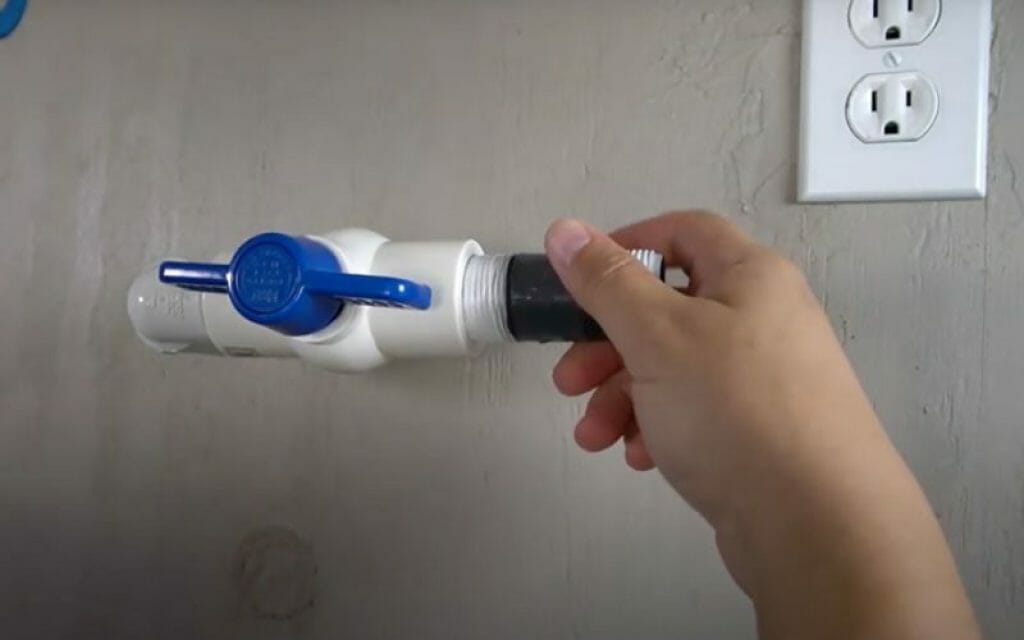
Next measure the distance between your cold water line and the manifold ports on the water softener tank. Cut a section of plumbing to that length. The plumbing material will depend on your home whether copper, PEX, or PVC. You can also use flexible tube fittings that are much easier to work with.
Now cut a section out of your main water supply. Install adaptors on the main water supply so they are compatible with the flexible tube fittings for the water softener. The type of adapters will depend on the specific water softener and kind of plumbing used in your home. If you are using copper pipes, the adapters will need to be soldered on.
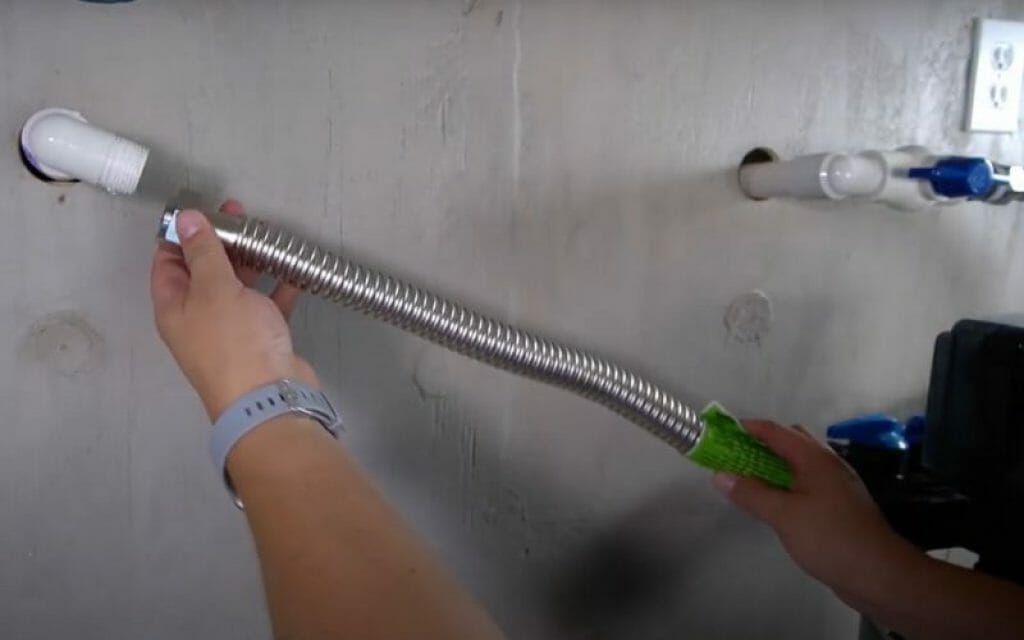
Connect the water supply line to the flex tubing, and then connect the other end of the flex tubing into the back of the water softener. Make sure the outlet port is connected to the house-side pipe and the inlet port to the supply-side pipe. Use the appropriate size wrench to tighten the nuts on the supply line. Be careful not to over-tighten the nuts or it will strip the threads.


Brine Tank Setup
Water softener installation includes connecting the brine tank. After it is situated, put about 5 gallons of water into the brine tank. Then fill it halfway with salt, which will be about 40 lbs of sodium chloride or potassium chloride tablets.


Drainage System Setup
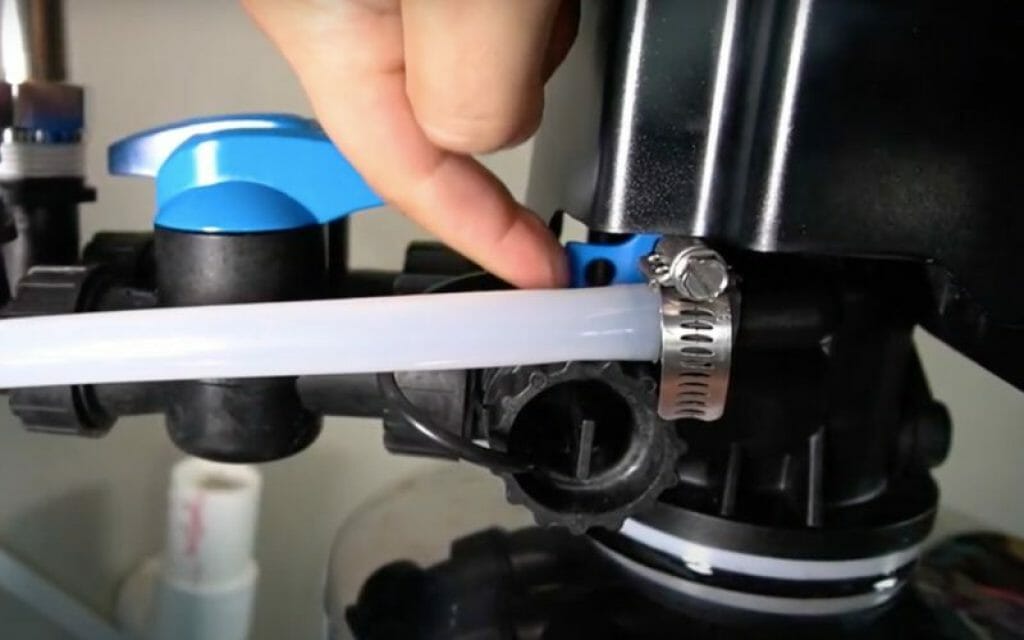
Ion exchange water softeners require two train tubes. One tube connects to the main media tank for backwash water created from the regeneration cycle. The other line connects to the brine tank for overflow drainage.
Insert the discharge tube to the fitting on the water valve head and secure it with a hose clamp. Direct the discharge and the overflow tube from the side of the brine tank to a drain. This is an important step so the brine wastewater has a place to be discharged. Although both lines need to be run to your drain, they should not be connected together.
There are several options for the drainage output. The easiest option is to run the drain lines to an existing floor drain. But if you don’t have one, you can also use a sump pit or a utility sink.
In some communities there are strict rules for how brine water can be disposed of, and in limited cases, salt-based softeners are not allowed. This is why it’s important to check on the requirements before installing your water softener at home and follow all plumbing codes. You may need to use an air gap fitting with the drain line to prevent the contaminated water from being reused in the softener.


Turn Water Supply On
Turn the water supply and water heater back on. Make sure to turn the main water supply on slowly as sudden increases in water pressure can cause damage to the system. Turn on a faucet in the house as you do this to allow oxygen in the plumping to escape. Also ensure the bypass valve is shut off.
At this point, check for any issues or leaks in the system or plumbing connections. If there is water escaping, check your fittings and hose clamps. If you have copper piping, you may need to re-solder the connections.


System Startup And Programing
Depending on what type of softener you have, the startup process will be slightly different.
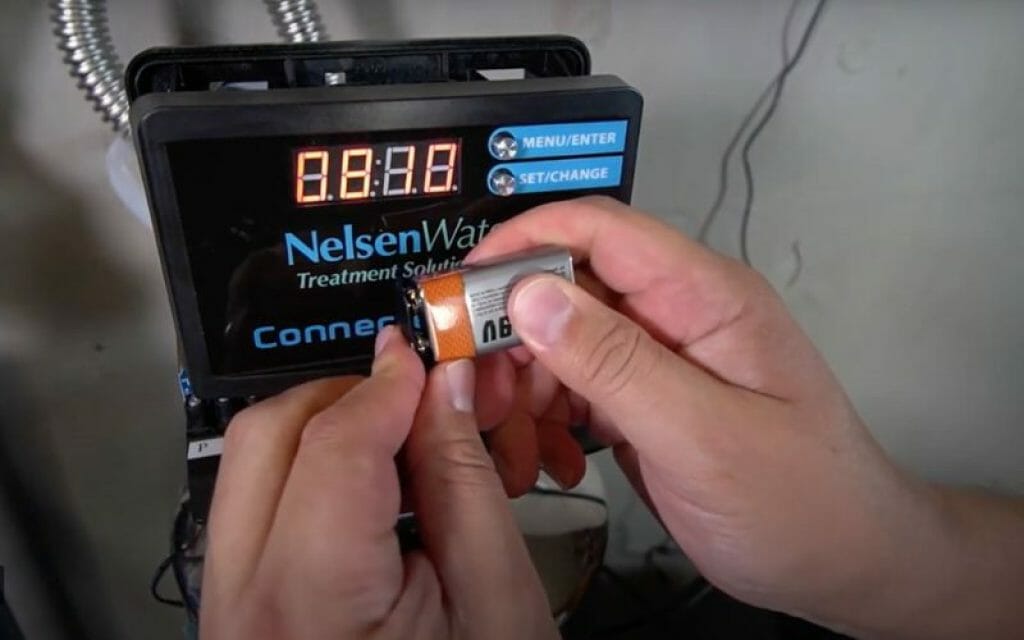
If your softener system has an electronic control head, follow the start-up instructions provided by the manufacturer. Generally, this will include plugging the system in, updating the date and time, and your water hardness levels. Here you can also program the regeneration schedule.
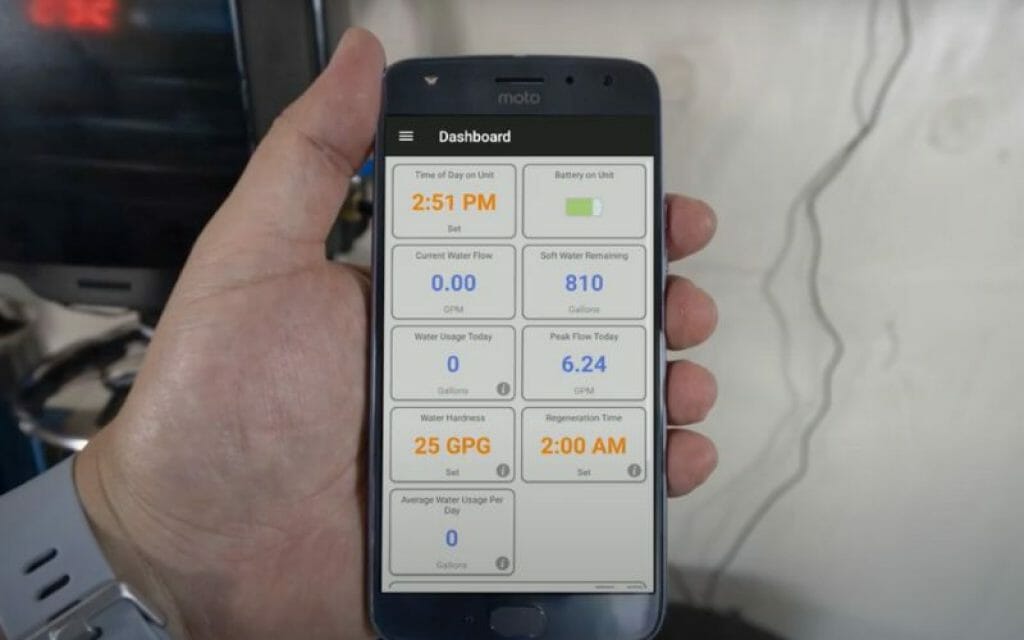
In some cases, the water softeners may also have a Bluetooth application that you can pair the control valve to your smartphone.

Run Regeneration Cycle
Set your water softener to run a backwash cycle. Make sure to set the bypass valve to the service position if you have one. Let the softener go through a full backwash cycle after installing the water softener.
Doing this will prime the resin media beads in the softener tank and release air from the system to ensure it is ready to operate at peak performance. Lastly, check the water level in the brine tank when the backwash cycle is complete to make sure everything is functioning correctly.
Now your new water softener is installed and ready to eliminate hard water!